Writing Your Scenario#
So, you now have your own scenario defined and ready to go. The only thing left to do is to actually write it. To help you get up to speed with the extra features provided by this game we will go over the basics in the following few sections.
Dialogue#
There are a few different modes in which you can make text appear on the screen. For a more in-depth look at the Ren'Py-provided facilities, please refer to the original documentation.
Narration#
This is used for narrating parts where nobody on the screen speaks. It will display text without a name or personalized style. To get this type of text, just wrap your words in double quotes " at the beginning and end ". This forms a string. Every string like this will be displayed in its own box and after each other, which means that new strings require a click from the user to proceed. Here is a simple example:
"Hello World!"
"This is an example!"
Narration

This will display a box with the text Hello World! in it, and after a click on the screen, the text will change to This is an example!.
Thinking#
Sometimes you have internal monologue for a character. To not confuse this with narration, everything someone thinks will be italicised. Here is a simple example:
"Someone's thinking something, oh no!"
think "This is a very unoriginal thought."
Thinking

This will first display a bit of narration, after which it will display This is a very unoriginal thought in a cursive script and with a slight hue to the dialogue box to differentiate it from the other styles of dialogue.
Speaking#
The narrator can talk and your characters can think. Now let's give them a voice. To do this, you will first have to acquire the name of the character that is used in the script. You can see a list of available characters in the included sprite viewer which you can access directly from the main menu. The names in this list are the names you can use in the script to make them talk. Remember that these names are case-sensitive!
Say you've browsed trough the sprite viewer a bit and you've found a character that you like, john. You can now make this character talk by doing this:
"At first, there was thought."
think "No there wasn't."
john "Oh, shut up, brain!"
"The protagonist seemed a bit nervous at the unexpected breaking of the fourth wall."
john "And you too, narrator!"
Speaking

This will display the already known narration and thought text. After another click, the box will be annotated with the name of the speaking character, in this case John and the text will be displayed like before. The style of the box may change slightly depending on the character. This is a feature of the game to make them easier to distinguish. Note that the displayed name may deviate from the name you use in the script, in style (uppercase first letter) and expansiveness (may contain surname).
NVL#
In some cases you may want to display larger amounts of text, for narration or tutorial purposes. For this kind of thing, a special nvl mode exists. An example might look like this:
nvl clear
nvl_narrator "The day was boring as always."
nvl_narrator "The teacher rambled on without end."
nvl_narrator "Clouds of nothingness dulled my mind."
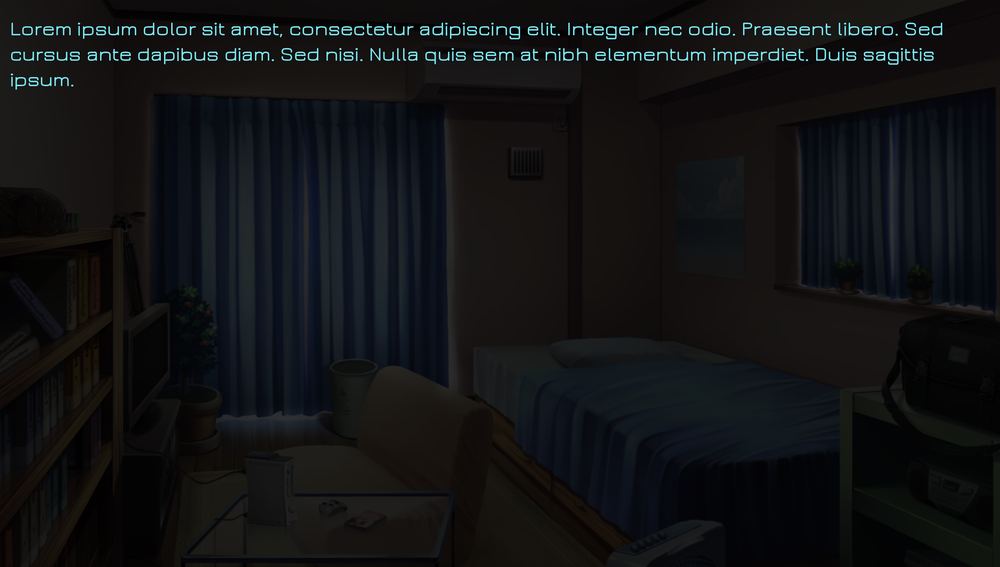
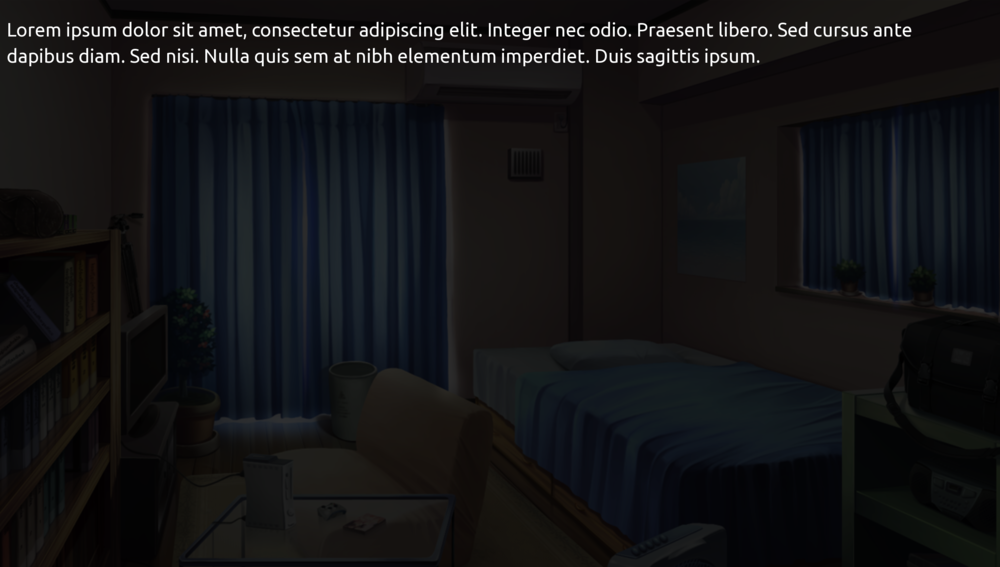
This will darken the screen by expanding the text box to fill it completely. With every click, a new line will appear, taking up the whole width of the screen space if needed. Note the first line, in which we nvl clear the box from previous text, as it will otherwise stay there until we use nvl mode again, even if we hide it in between. A click after the last nvl-related statement has been shown will make the text box small again and we will be back to the standard layout.
There are a few variations of this mode that have different styling to them. You can replace the nvl_narrator in the above example with any of these to get a different look:
Note
note uses a strong cursive font approximating handwriting and displays text inside of a slightly smaller window styled to look like a letter. This mode supports scrolling, so you can put more text on screen than with the other modes, as a scrollbar will appear once you exceed the height of the screen.

Alien
alien uses a hight-tech looking font.

Manual
manu uses a font similar to old scripture.

NVL Narrator
nvl_narrator uses the regular font of the game.

Phone
phone will actually start an SMS conversation, which has a bit more functionality. How this system works will be explained in a later section.

Advanced Formatting#
There are a few ways to style the text in the dialogue box. Ren'Py includes some by default (which you can look up here) but we also added a few custom ones:
{q}Wraps the string in between the tags in"{spell}Changes the font of the string in between the tag to a more 'mystical' one
You can use these tags like any other tag, like this for example:
john "This is {q}problematic{/q}..."
Which will result in the character john saying the text This is "problematic"...
Timed Menus#
In recent times, menus that "expire" after a certain amount of time have become quite the rave. They can be used for adding a sense of urgency to a decision or form the basis of a timed minigame, for example a fighting sequence.
Thus we decided to properly implement this feature in an easy-to-use way to make it easier for scenario authors to create such timed choices without needing to resort to hacking together the same boilerplate screen and python code every time they need this functionality.
Timed Menu

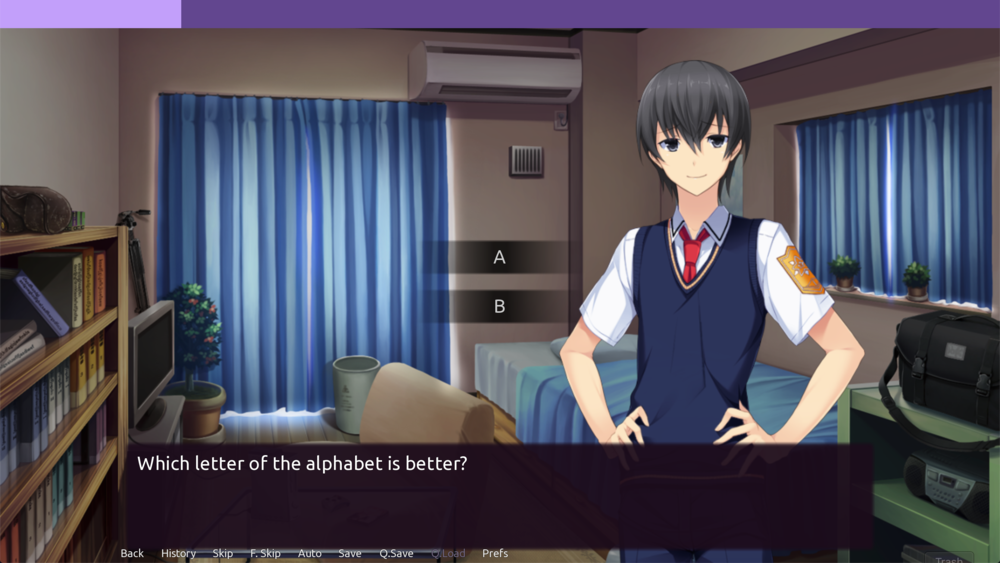
The timed choice provided by the game will show an animated progress bar at the top of the screen when a timed choice is active. If a choice is made within the allotted timeframe, the menu behaves like any other menu. However, if the time runs out, it will automatically jump to a label specified by the author.
You can make any choice a timed choice simply by adding one line of code, as shown in the example below:
timedchoice 5.0 day2

menu:
    "Which letter of the alphabet is better?"

    "A":
        "You chose answer A!"

    "B":
        "You chose answer B!"

label day2:
    "You failed that one, bucko!"
They syntax of the command is as follows:
timedchoice <timeout> <fail_label>
<timeout> is a simple integer or floating point number, e.g. 5 or 5.3, giving the time in seconds that the choice should be active.
fail_label is the name of the label to jump to if the time runs out and no menu entry is chosen. This has to be a label that exists, otherwise the game will crash. It does not have to be put into quotes (" or ').